- 8 1/4 x 5 1/2 x 1 1/2 inch piece of wood (or any size you'd like to work with)
-Wood Finish
-Old rag
-Newspaper or something like it
-Clear Acrylic Sealer
-Burlap
-Scissors
-Quilt Pen
-A Cricut or Di-cut machine and paper
-Tacky Glue
Start with you Piece of wood. I used a 8 1/4 x 5 1/2 x 1 1/2 inch piece of wood. I had mine cut for me at my local home improvement store.
First, we need to stain it... so grab your wood, old rag, wood finish, and newspaper (I used a paper grocery bag).
You may want to do this outside. Lay your wood on your newspaper or bag. Use your old rag to rub the wood finish onto your piece of wood. Make sure you fill in all those tiny cracks!
Once your finished let it dry for a few hours.
Next you'll want to seal your finish. You will want to do this outside as well.
Make sure you cover the whole piece of wood. Spray as directed on the can.
When you're finished...let it dry outside. I left mine outside overnight to get rid of the smell too!
Now we can start on your burlap...
You will want to cut a piece of burlap slightly smaller than the face of your wood. If you cut your burlap along a certain strand it makes your next step easier.
Next pull about 4-5 burlap strands off all 4 sides of your burlap piece. It should now look something like this...
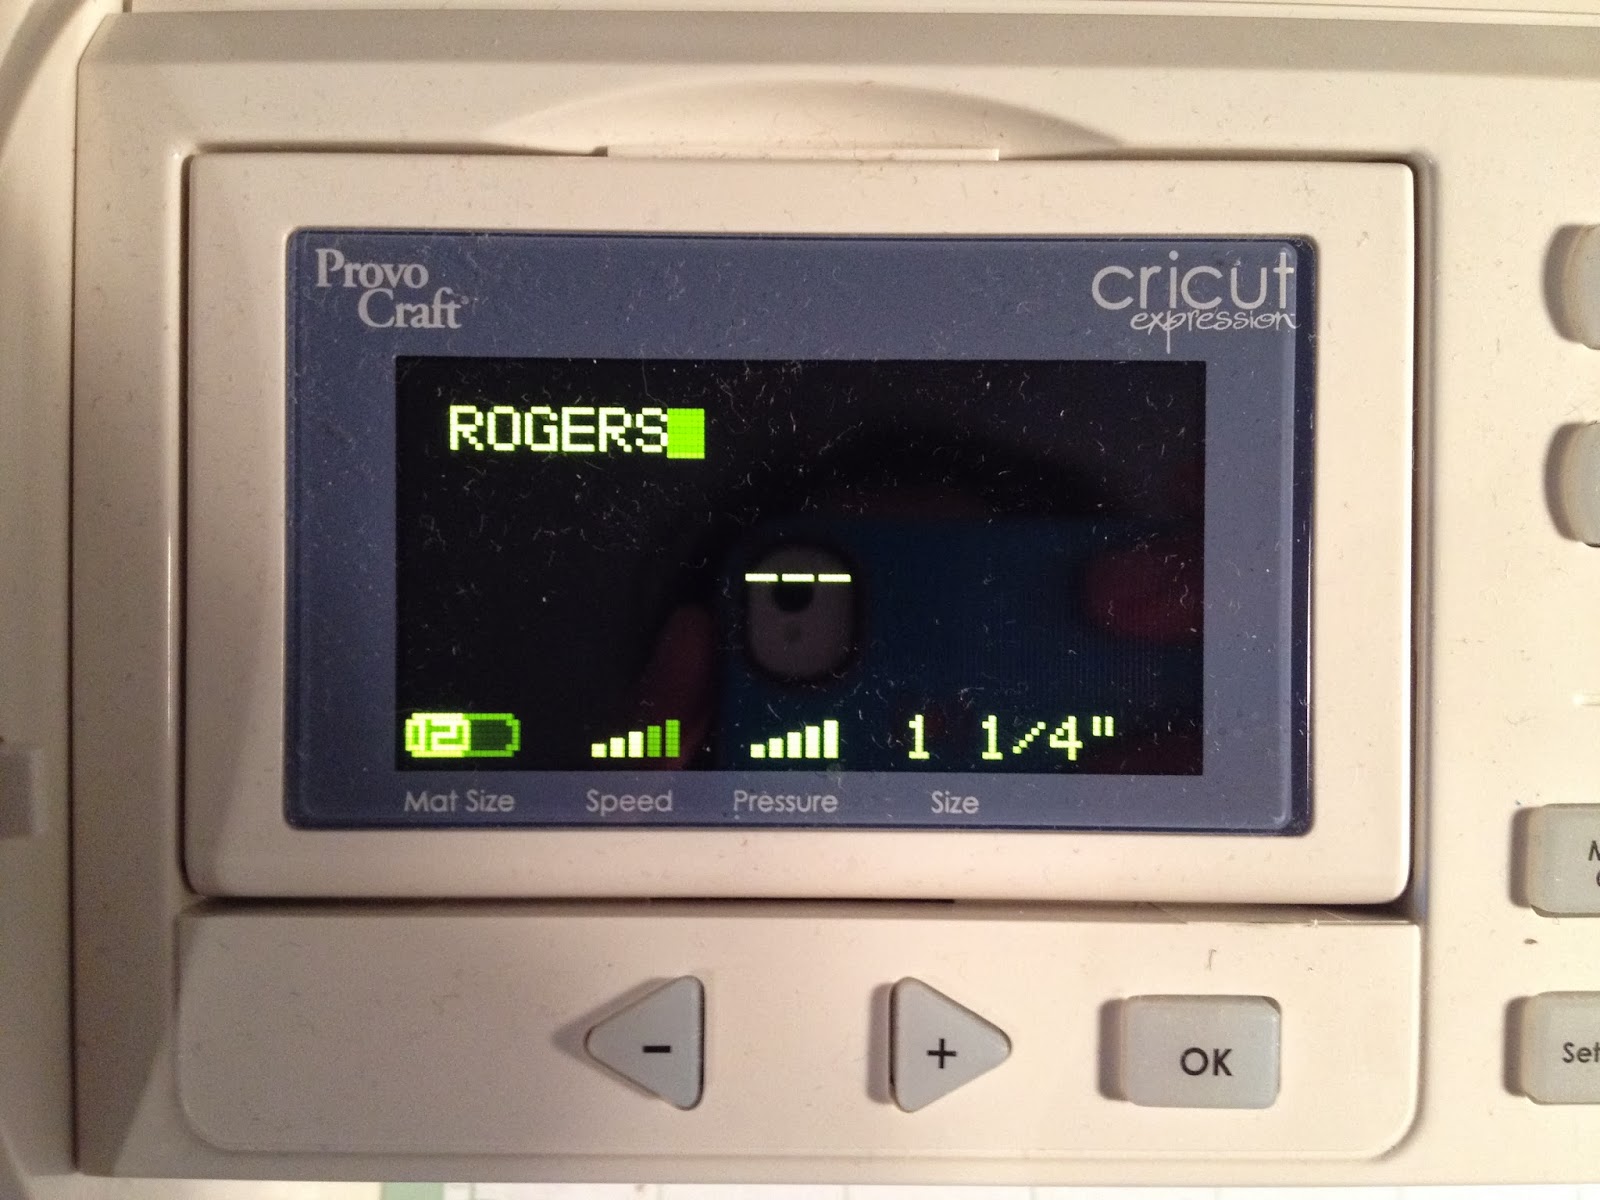
Now you will need to cut out stencils on your di-cut machine. I used a Cricut machine and these are the sizes I used...


*** You may need to adjust the size of the last name depending on how many letters it has ***
Lay your stencils out to make sure they fit. Next use your quilt pen to trace each letter. I started with the 2 middle letters to make sure it was centered.
Filling in the letters can be time consuming. You will need to color each strand of burlap.
Once you finish the last name- lay out your bottom layer of letters
And follow the same directions as the last name.
Here is the burlap when finished...
Now we can glue to burlap to our finished wood. Make sure your piece of wood is dry before you glue.
Dot each corner of the back of your burlap. This keeps the strands from fraying. Then dot the glue on the rest of the burlap.
Then Place it on your piece of wood, centered.
***Note: The glue will dry CLEAR***
Once the glue is dry it is ready for display!
These are great for Wedding shower gifts, Christmas gifts, Birthday gifts, or to make for yourself!
Happy DIYing!
~Mrs. Rogers


